Installing basement windows can make a noticeable difference in how your lower level looks and feels. More light, better airflow, and improved safety are often the main goals. Still, learning how to install a window involves more than setting a frame in place and calling it done—proper measurements, sealing, and waterproofing matter just as much as the window itself.
In this guide, we will walk you through what’s involved, from choosing the right type of window to understanding when professional help makes sense. You’ll get a clear picture of the process, common mistakes to avoid, and what to expect before starting the project. Let’s take a look at the process of how to install a basement window in your home!
What a Basement Window Does and Why Proper Installation Matters
A basement window isn’t just decorative. It plays an important role in ventilation, moisture control, and, depending on the type, emergency egress. When installed correctly, it helps reduce dampness and brings natural light into an otherwise dark space.
However, because these windows sit at or below ground level, they are the first line of defense against water intrusion. Poor installation can lead to leaks, drafts, mold growth, and—most concerning—long-term foundation issues. Getting it right the first time isn’t just about aesthetics; it’s about protecting your home’s structural core.
Types of Basement Windows You Can Install
Not all windows serve the same purpose. Choosing the right style depends on your basement layout, local building codes, and how the space is used.
Hopper Windows
Hopper windows open inward from the top, making them ideal for tight exterior spaces. They provide solid ventilation and are generally good at keeping water out when properly sealed. Many homeowners choose hoppers for utility rooms or finished basements where an emergency exit (egress) isn’t required.
Sliding Windows
Sliding windows open horizontally and are easy to operate. They work well in wider openings and provide decent airflow. Their simple design makes them a popular choice for finished basements where space allows for a larger glass area.
Egress Windows
Egress windows are non-negotiable if a basement is used as a living space or bedroom. They are designed to provide a safe exit during emergencies and must meet strict size and clearance requirements. Because they often involve cutting into foundation walls, these installations usually require permits and the steady hand of window replacement contractors.
Tools and Materials Needed to Install a Basement Window
Installing any window requires more than basic hand tools. Even if you don’t plan to do the heavy lifting yourself, knowing what’s involved helps you vet a contractor’s process. Common materials include:
- Window unit designed for basement use.
- Measuring tape and level.
- Hammer, drill, and fasteners.
- Safety gear (gloves, safety glasses, dust mask).
- Sealants, foam insulation, and weatherproof caulk.
- Flashing materials for water protection.
Professional basement contractors in Fayetteville typically handle the high-risk structural prep, such as cutting masonry and ensuring proper drainage, which are the most common points of failure for DIYers
Step-by-Step: How to Install a Basement Window
These steps explain the general process. Keep in mind that every home is unique, especially when dealing with older foundations in Fayetteville.
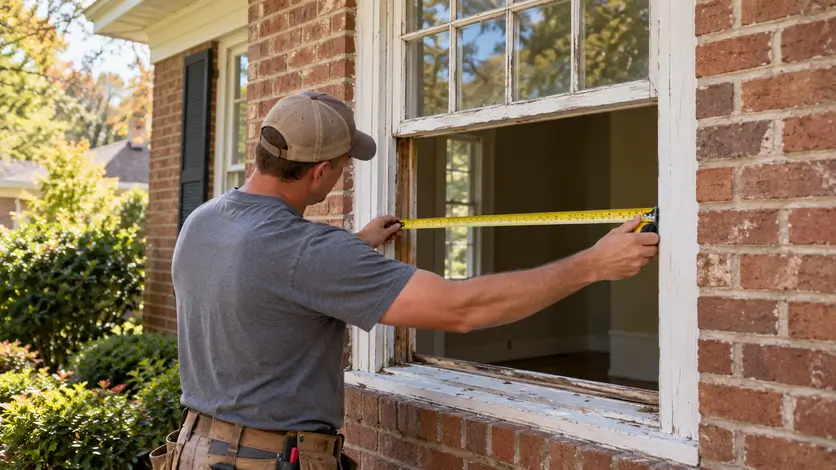
Step 1 – Measure the Window Opening Correctly
Accurate measurements are critical. Measure the width and height of the opening in multiple spots and use the smallest dimensions. Even small measurement errors can cause fit issues or water leaks.
(For a detailed walkthrough, see Brightnest Transformations’ guide on proper window measurements.)
Step 2 – Remove Old Windows (If Applicable)
If you’re replacing an existing window, remove the interior trim first. Carefully detach the old frame using a pry bar or saw as needed. Take care not to damage the surrounding wall or foundation.
Step 3 – Prepare the Window Opening
Clean out old caulk, debris, and loose material. Inspect the opening for cracks or structural damage and make repairs before moving forward. A clean, solid opening is essential for proper installation.
Step 4 – Install the Window Frame
Set the new frame into the opening and check that it’s level and plumb. Use shims where necessary, then secure the frame with corrosion-resistant fasteners. Avoid over-tightening, which can warp the frame.
Step 5 – Seal, Insulate, and Waterproof
Apply high-quality caulk around the frame, then fill gaps with foam insulation. Install flashing and exterior waterproofing to direct water away from the foundation. This step plays a major role in preventing future moisture problems.
Step 6 – Finish Interior and Exterior Trim
Install interior and exterior trim, making sure everything fits tightly and evenly. Seal gaps with caulk and finish with paint or stain as needed for a clean, finished look.
Common Mistakes When Installing a Basement Window
- Incorrect measurements that lead to a poor fit.
- Skipping flashing or proper sealing.
- Ignoring local building codes.
- Poor drainage planning around the foundation.
Water intrusion is one of the most frequent and expensive mistakes. Proper drainage, sealing, and flashing help protect both the window and the surrounding structure.
DIY vs. Hiring a Professional for Basement Window Installation
If you’re considering installing windows yourself, it’s important to weigh the risks against the benefits of working with professionals.
When DIY Might Be an Option
If you are doing a “pocket replacement”—where the new window fits perfectly into an existing, undamaged frame—and no structural changes are needed, a DIY approach may be feasible for those with moderate carpentry experience.
When to Call Pros from Brightnest Transformations
If your project involves cutting into concrete, enlarging an egress opening, or dealing with a history of water leaks, it’s time to call in the experts. Our team of skilled and experienced window experts provides expert window replacement and installation services in Fayettevill e, ensuring your home remains structurally sound and dry.
Basement Window Installation Costs: What to Expect
Installation costs can vary for several reasons. Below is a general breakdown of what homeowners typically see.
Window Type
- Vinyl windows: Often the most budget-friendly option, usually ranging from $150 to $500 per window. They’re low-maintenance and work well as standard replacements.
- Wood windows: More expensive due to material and upkeep, commonly $400 to $1,000+, depending on size and finish.
- Egress windows: These are the most costly due to their size and code requirements. The window itself may cost $300 to $700, but total project costs are higher once labor and excavation are factored in.
Labor and Structural Modifications
- Standard replacement installations often range from $300 to $800 for labor if no structural changes are needed.
- Concrete cutting or enlarging openings: Can add $500 to $2,000+, depending on wall thickness and access.
- Drainage systems or window wells: Egress windows often require window wells and drainage systems, adding $500 to $1,500.
This is where experienced professionals really matter, especially when working with concrete foundations or managing water control.
Replacement vs. New Installation
- Replacing an existing window: Typically falls between $500 and $1,500, depending on the window quality and labor.
- Installing a brand-new window often costs $1,500 to $4,000 or more, especially for egress windows that require permits, excavation, and structural work.
While replacements are generally quicker and more affordable, new installations involve more planning, inspections, and labor—factors that quickly raise the overall price.
How to Choose the Right Contractor for Your Window Installation
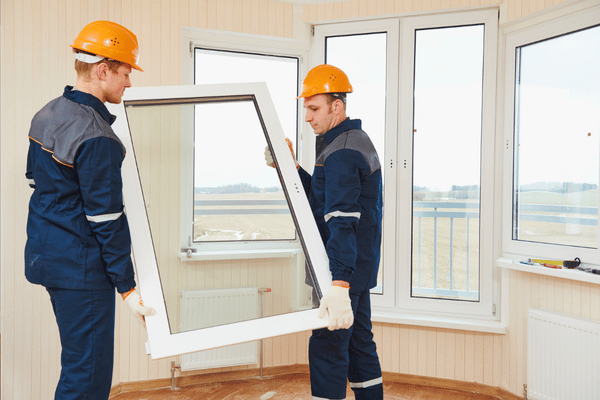
Look for licensed, insured professionals who specialize in replacement. Ask specifically about their waterproofing methods. A general handyman might know how to set a window, but specialized contractors understand the unique pressure and moisture challenges of a basement.
Final Thoughts on Installing a Basement Window
Deciding to install a basement window can improve comfort, safety, and natural light. The key is knowing when the project is a simple weekend task and when it requires professional-grade waterproofing and structural tools.
Need help installing or replacing a basement window? Contact Brightnest Transformations for expert window replacement and installation done right the first time.
Frequently Asked Questions
1. How long does window installation usually take?
Most standard replacements take half a day to a full day. Projects involving concrete cutting, egress requirements, or drainage upgrades can take longer, especially if inspections are required.
2. Do basement windows always need permits?
Permits are often required when installing new openings, enlarging existing ones, or adding egress windows. Local regulations vary, so it’s best to check before starting. Contractors typically handle permitting as part of the project.
3. Can a basement window improve energy efficiency?
Yes. Modern windows with insulated frames, double-pane glass, and low-E coatings help reduce drafts and heat loss. Proper sealing during installation is just as important as the window itself.
4. How do I know if my windows are leaking?
Signs include visible moisture, peeling paint, musty odors, or water pooling near the window well. Early repairs or replacement can prevent more serious foundation damage.
5. Is professional installation worth the cost?
For many homeowners, yes. Professional installers help ensure code compliance, proper waterproofing, and long-term durability, especially for egress windows or concrete foundations.