Installing luxury vinyl plank is careful prep followed by patient cutting, and it is worth handing to an installer once the floor itself needs work. For homeowners around Fayetteville, GA, owners Josh and Raymond Daniels of Brightnest Transformations follow the job from picking the plank to fitting the last trim, then cover what a pro install costs and who should lay it.
Key Takeaways
- Pick vinyl plank for rooms that get wet or mopped often, where wood or carpet would wear out first.
- Run a long straightedge over the subfloor and correct every dip or ridge the plank maker’s instructions rule out.
- Have a concrete slab tested for moisture by the ASTM F2170 probe method before any plank or adhesive goes down.
- Set the first row to a straight reference line, since a crooked starting wall carries its error across the whole room.
- Undercut the door casings so planks slide beneath them, and leave the wall edges for baseboard or trim to hide.
- Have every installer price tear-out and subfloor repair apart from plank and labor, so their quotes line up.
Is luxury vinyl plank right for the room you’re redoing?
For most rooms in a house, yes, and especially the ones where water and daily cleaning would ruin wood or carpet. Fixr defines luxury vinyl plank as a rigid flooring plank with a solid vinyl core. That vinyl core does not soak up water and swell the way a wood-based floor can.
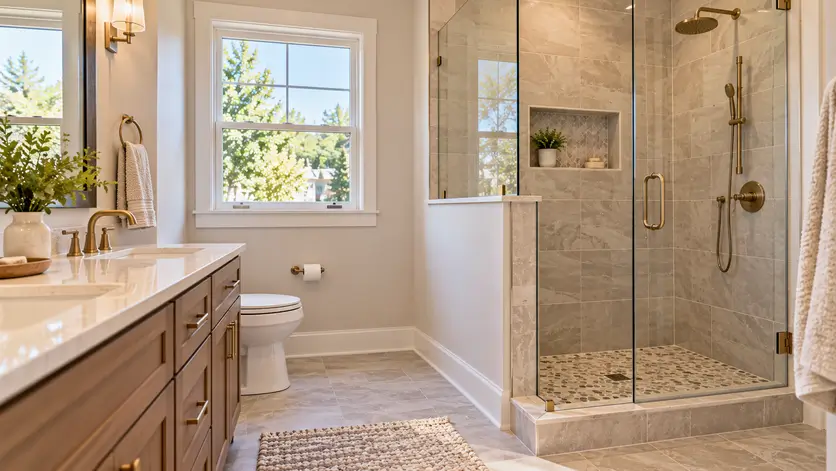
That makes LVP a sound pick for kitchens and bathrooms, where spills and wet mopping happen every week. If the new floor is one piece of a larger bathroom remodel, choose the plank at the same time as the tile and fixtures so the finished floor height is planned from the start.
Two rooms deserve a closer look before you buy. A sunroom, or any room behind large glass that takes hard afternoon sun, can heat vinyl enough to make the planks move. A room built on a concrete slab needs its moisture checked before any plank goes down. In a basement remodel, wait to measure for plank until the finished walls are framed.
Getting the subfloor flat, dry and ready for vinyl plank
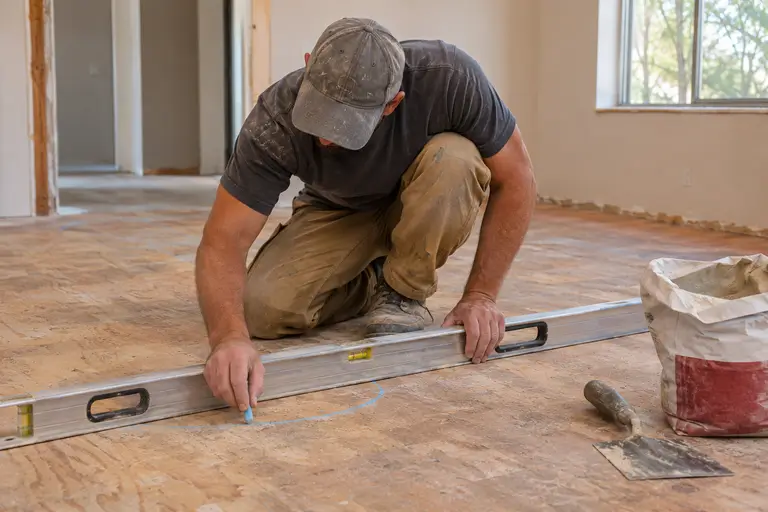
A subfloor is ready for vinyl plank when it is flat and solid, judged against the plank maker’s installation instructions, which set how much dip or hump the floor can have. Lay a long straightedge across the floor in several directions and mark every low spot and ridge. Low spots get floor patch or self-leveling compound. High spots on a concrete slab are ground down. On a wood subfloor, screw down any panel that squeaks or flexes, then vacuum so no grit sits under a plank’s locking edge. Over concrete, lay any vapor barrier film the plank maker’s instructions call for under a floating floor and tape its seams. While you prep, stack the unopened boxes flat in the room for as long as those instructions say, so the planks settle to the room’s temperature. Scoring and snapping planks takes a utility knife and a square; fitting them takes a tapping block and pull bar, with spacers to hold the wall gap.
Where should the first row go, and how do you lay out the rest?
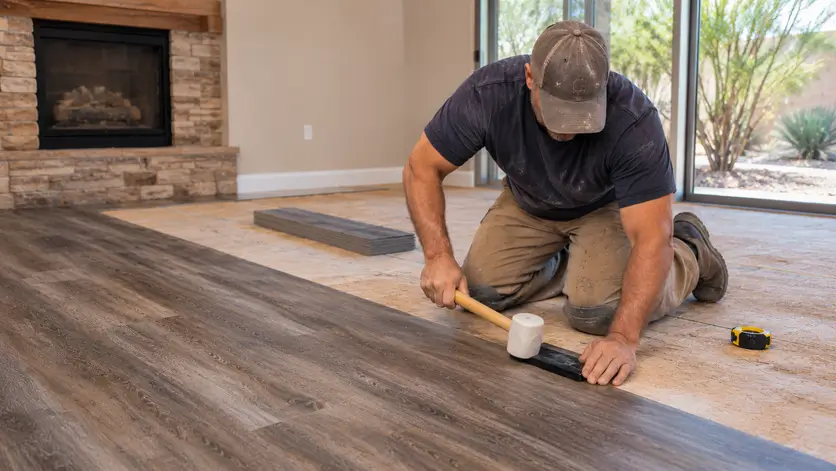
Start along the longest straight wall, planks running the length of the room. If that wall is out of square, snap a chalk line and set the first row to it. Divide the room’s width by the plank’s face width first; if the last row would be a thin sliver, rip the first row narrower so both edge rows match. Stagger end joints as the plank maker specifies. Lock each new plank by angling its long edge into the row before it and pressing it down flat, then tap the short end joint closed with a tapping block. At the wall, where there is no room to swing a block, close the last joint with a pull bar.
Cutting vinyl plank around doors, transitions and trim without gaps
Gaps at doorways disappear when you cut the door casing instead of the plank, and gaps at walls disappear under trim. At each door, set a scrap plank (on its underlayment, if your plank uses one) against the jamb and run a jamb saw flat across it. That cut raises the casing just enough for a full plank to slide underneath, so no notched edge shows.
Along the walls, leave the expansion gap the plank maker’s instructions call for, and let baseboard or quarter round hide it. Nail that trim into the wall, never down through the plank. Pinned planks can’t move with the seasons and will buckle.
Where the plank meets another floor, at the same height or a different one, a transition molding covers the seam:
- T-molding bridges two floors that sit at the same height.
- A reducer steps down to a lower floor.
- An end cap finishes the edge against a sliding door track or a hearth.
What drives the cost of a professional LVP install?
A professional install is priced on how much floor there is, which plank you choose and how much work comes before the first plank goes down. Ask each installer to list these costs separately so quotes compare:
| Cost driver | What raises it |
|---|---|
| Floor area | More square feet of plank and labor |
| Plank | Thicker or higher-grade planks |
| Tear-out | Removing tile or glued-down flooring |
| Subfloor repair | Patching low spots or replacing damaged panels |
| Room shape | Stairs and many doorways mean more cuts |
Pricing the job in this area is covered in the flooring installation cost guide for Georgia.
Floating click-lock or glue-down: which install does your floor need?
The plank decides it. Each vinyl plank product is made for one install method, and its installation instructions name that method. A floating click-lock floor snaps together edge to edge and rests on the subfloor without fasteners. The whole floor moves as one sheet, and a damaged plank can be taken apart at its edges and swapped out. A glue-down floor bonds every plank to the subfloor with adhesive. That method suits thinner, flexible planks, and it holds still under heavy rolling loads where a floating floor can creep.
On a concrete slab, glue-down puts more weight on the moisture question, because a failed adhesive bond lets planks lift. ASTM International’s F2170 test method measures relative humidity inside the slab with probes set into the concrete. The same standard warns that excess slab moisture under finished flooring can cause debonding and peaking (plank edges pushing up into a ridge). Have the slab tested that way before any adhesive goes down, and hold the reading to the limit the adhesive or plank maker sets.
Should you install LVP yourself or hire an installer?
Do it yourself when the job is one simple room of click-lock plank going over a subfloor that is already flat and sound. Hire an installer when any of these is true:
- The straightedge check found dips or humps that need patching or grinding first.
- The floor is a concrete slab, or the plank is a glue-down product, so the floor depends on a moisture reading and an adhesive bond.
- The plank runs up stairs or through several rooms, with doorways and transitions to fit.
A mistake in any of these shows up months later as a lifting edge or a seam that opens. The fix means pulling up planks. Hiring out flooring installation puts the layout and every cut on the installer. If you hire, our guide to choosing a home remodeling contractor covers what to ask before you sign.
Brightnest Transformations is based in Fayetteville and serves Jonesboro, Newnan, Peachtree City, McDonough, Stockbridge and Reynoldstown. To talk through your floor, send us a message or call 678-835-9601.
Sources
- F2170 Standard Test Method, ASTM International, retrieved 2026-10-15.
- Luxury Vinyl Plank Flooring Installation Cost, fixr.com, retrieved 2026-10-15.